Post and Beam Custom Wood Home – Under Construction: Part 9
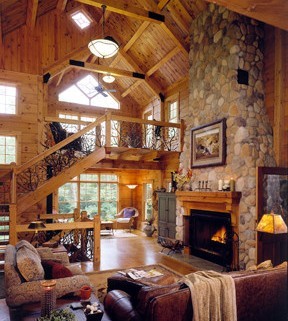
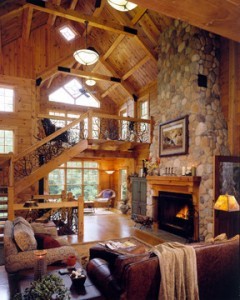 Fireplaces have become a hot commodity! No pun intended. Of the hundreds of custom wood homes we have drawn, there are few designs that do not include some sort of fireplace. While the initial invention of a fireplace was a necessity (for cooking and primary source of heat), fireplaces today are more of a want than a need…even though the feature tops the must-have list.
Whether you’re looking for a cozy place to snuggle and unwind or trying to create a jaw-dropping focal point in the main living area of your dream wood home, you can’t go wrong with a fireplace. We do believe everyone has to have one, so in today’s article, we’ll take a look at your options and document the steps of construction.
Post and Beam Custom Wood Home: Fireplace Options
Although there are several different types of fireplaces, the most popular options among Timberhaven custom wood home owners are:
| • Full masonry fireplaces are constructed with brick and stone and burn wood. If you want the “real deal” and love the smell of a roaring fire and the sound of wood sizzlin’ and poppin’, then this option is best for you! Keep in mind, the full masonry option is normally the most expensive choice. |
| • Inserts are placed in a conventionally-built fireplace frame. The inserts can be fueled by natural gas, propane, electricity or they can also be wood-burning. Today’s fireplace inserts are both economical and energy efficient. |
Post and Beam Custom Wood Home: Fireplace Construction
Similar to virtually every other Timberhaven log home, the post and beam custom wood home we’ve been documenting will also include a fireplace. The fireplace of choice will include an insert and will serve as a supplemental heat source and as an awe-inspiring focal point in the main living area. Let’s take a look at its construction.
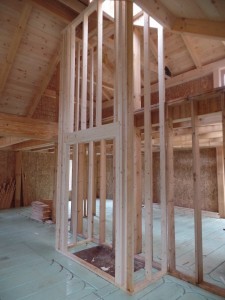
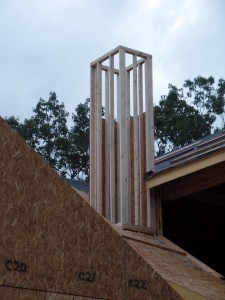
First, using conventional construction techniques, the interior frame is built and then the chimney chase is erected above the roof line.
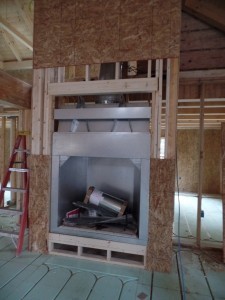
OSB is applied over both interior and exterior fireplace frames. Then the insert is placed. It isn’t uncommon for customers to desire a see-through fireplace (which simply means you can literally walk around the fireplace and see it from both sides). Even though this particular fireplace will be positioned against an interior bedroom wall, it will draw your attention no matter where you are in the main living area.
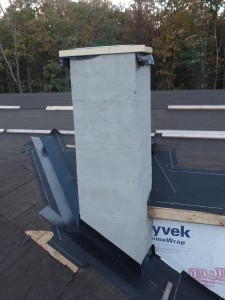
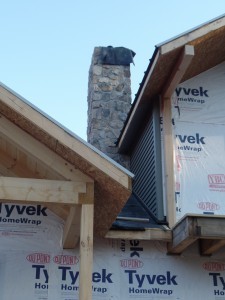
On the roof, the next layers of the chimney chase are being applied. Wire mess or lath is attached to the sheathing. Next, a coat of mortar is applied. The mortar is then roughed up or textured with a notched trowel or brush to improve adhesion. This step is often referred to as a “scratch coat.” After the scratch coat has dried, more mortar is applied to the back of the stone and is then applied directly to the scratch coat. In this case, the owner selected fieldstone (hand picked from their property) as their stone of choice. Looks beautiful, doesn’t it?
The interior fireplace wall will be covered with the same fieldstone and the same process will be followed in order to achieve that effect. You will get to see how this looks in a few weeks. The chimney received primary attention so that the builder could start laying final roof material (standing seam metal) and applying the siding. We’ll take a closer look at those processes in our next article.
This is going to be a beautiful home. Great job with highlighting all of the great features!