Heavy Timbered Log Home Construction – Part 6
Each phase of the log home construction process is no more or less important than the next – and the overall task of assembling your own dream log home is quite an endeavor. But Jack and Bob would not have it any other way. They are having a blast through these construction phases and are elated to see their dream log home taking shape. This week the DIYers have been working on their front porch, rear shed dormer, and the roof. Let’s check in with them now.
Log Home Construction: Heavy Timbered Porch
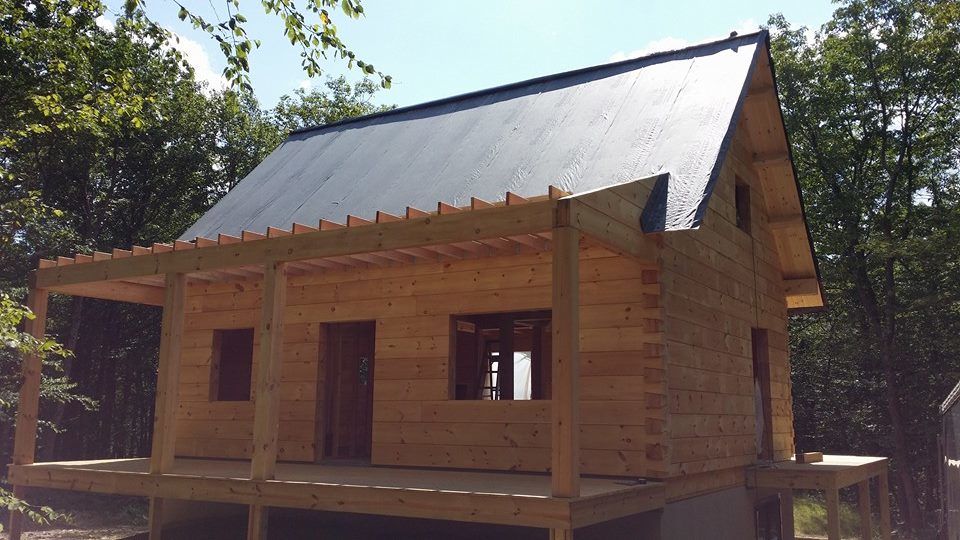
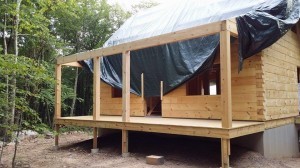
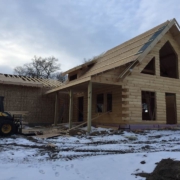
If you’ve been following this blog from the beginning, you may remember that during the design phase, Jack 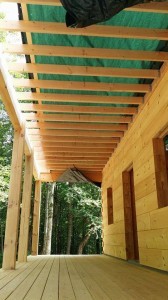 and Bob had Timberhaven increase the size of the porch posts (originally 6” x 8” posts increased to 8” x 8” posts) which reduced the number of posts required which in turn eliminated obstructions of the front windows. Nice job on paying attention to the details – the final front porch effect is charming! Here you will see the heavy timbered porch posts have been erected. Their role is to support the porch header (horizontal member) and the porch roof. In addition to being beautiful, the posts are important, too!
By the shadows cast on the front of this home, you can derive at the fact that the porch roof has been framed. Soon tongue & groove will be applied to the lower side of the frame to finish the porch ceiling. It’s hard not to imagine taking advantage of some R&R on this front porch. For now, work must go on. There will be time for chillin’ later…
Log Home Construction: Shed Dormer
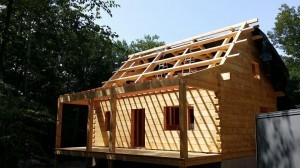
Because Timberhaven Log Homes provides kiln-dried laminated or solid products – materials that won’t shrink or settle after construction – gabled and shed dormers are typically built utilizing our laminated or solid log materials. However, Jack and Bob wanted a different look to their home, so they decided to build their shed dormer conventionally and finish it with board & batten on the exterior. 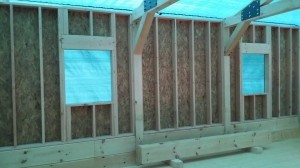 This week the couple completed conventional framing of said shed dormer walls and installed the window frames and headers. Not only will this particular dormer grant the couple a unique, hybrid feel to their home, they are also gaining full ceiling height and lots of natural light. See the angled supports in the photo? They serve no structural purpose and were strictly added for aesthetics. We see this architectural element from time to time; it’s a nice touch and maybe something you want to consider for your log home.
Log Home Construction: Heavy Timbered Roof System
As we discussed last week, Timberhaven log home customers can choose from several different types of roof systems. This decision is usually based on aesthetic preferences but cost is also a factor. Timberhaven’s beam & purlin roof system is a very popular choice. What’s most unique about this heavy timbered system is that all the roofing members are exposed – it’s a dramatic effect many log home owners prefer. So, after the beam & purlin roofing members are set, Jack and Bob nail 1” tongue & grove (T&G) ceiling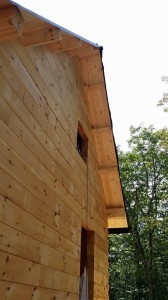 material perpendicular to the purlins. The T&G will extend at least 2 ft. beyond the walls which creates the soffit and overhangs. (Notice the purlins extending through the solid log gable ends.) Some builders snap a vertical chalk line every few feet on purlins as a reference to keep T&G perpendicular. Think about trying to write on a chalkboard without a guide – it’s hard to do! And since realigning T&G is more difficult than erasing your marks and starting over, we recommend the chalk line guide.
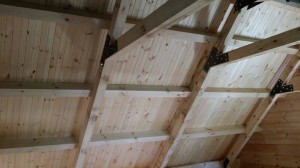
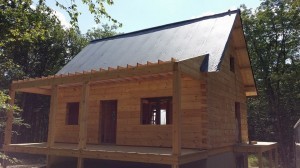 As the T&G is installed, the couple applies a layer of synthetic felt paper to protect the T&G. The T&G should never be exposed to inclement weather conditions, so it’s important to cover it with felt as soon as it is applied. Because Timberhaven’s beam & purlin roof system is so unique, we’re going to take the opportunity to outline in detail what happens next with this roof. Check back next week for those specifics.

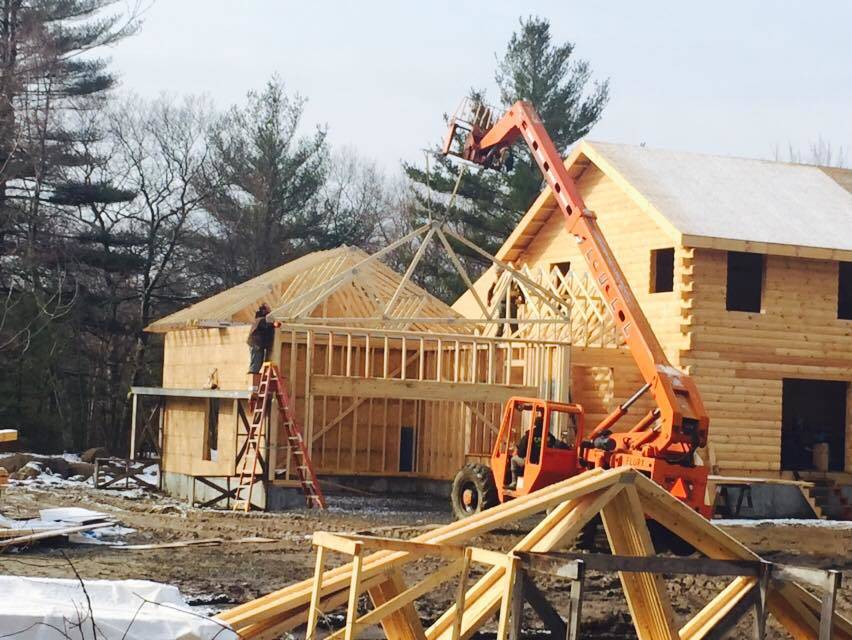


Looking good so far!