Log Home Construction – Part 4 – Custom Built Log Homes
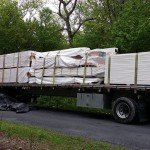
Your log home plans have been drawn to perfection; logs expertly kiln dried, laminated, and milled; and package components delivered to your job site. Now what? Well, it’s time to get to work – get-your-hands-dirty kind of work – log home construction. Since Jack and Bob will construct their own dream log home, it is go-time for them!
Log home construction: Preparing the subfloor
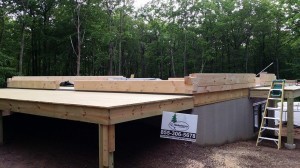
It all starts with verification that the subfloor is of proper length, width and squareness. By following the detailed construction drawings, Jack and Bob snap a chalk line around the perimeter. The inside surface of log row #1 will set on this snap line, so it is paramount that the lines are correct. The couple is constantly double checking their work.
Next Jack and Bob mark the sub-floor location of all switches and receptacles – and other items that will require drilling of logs for electrical like outside lights, phone wires, cable, etc. They use a crayon to indicate “S” for switch and “R” for receptacle. A hole is drilled through the subfloor and the perimeter box at a 45 degree angle in the exact area that will receive the electrical wiring.
Log home construction: Laying Logs
Jack and Bob follow their detailed construction drawings for complete instructions as to which log gets laid first, second, third and so on. Timberhaven made log home construction easy because each log is lettered and numbered and these alpha-numeric labels coincide with the detailed construction drawings. When the couple gets to an area on the subfloor that is marked “S” or “R”, using a 1” or 1 ¼” self-feed auger bit, they will drill the 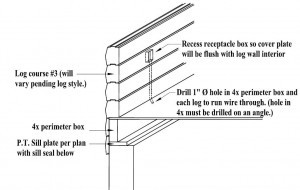 electrical hole so that it lines up with the hole below it in the subfloor. They will utilize this same drilling method for the remainder of the log rows in order to create a chase for electrical wiring. This process simplifies the running of electrical wires as holes will be lined up directly over holes in each log course. Since Jack and Bob are building their dream log home with our massive 8” x 12” laminated logs, their logs are drilled up to row #2 for receptacles and row #5 for switches. (In our frequently utilized 6” x 8” D log profile, receptacles are placed at row #3 and switches at row #7.)
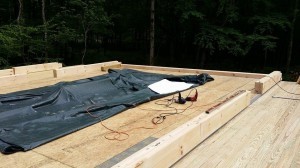
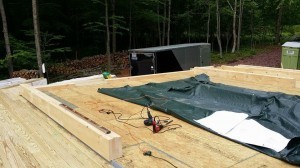
During log home construction, Jack and Bob appreciate the fact that Timberhaven’s logs are pre-drilled and countersunk for lags and washer placement. This takes the guess work out of the equation as it’s clear exactly where the lags need to go.
Jack says, “Timberhaven’s pre-sorted log feature also made things a lot easier for us, especially since this is the first log home we ever constructed. Plus with the pre-cut logs being marked with a number/letter which corresponded to the assembly plans provided by Timberhaven made log home construction so easy. If you can follow directions and read a plan, you will be in good shape (a lot of muscle helps too).”
Butylog Sealant Tape is supplied in every Timberhaven log home package. This is used on the weather-side of the tongue for each log. Once the logs are lagged together, the Butylog compresses to form a seal so there is no water or air filtration.
The window and door areas are naturally formed when the log walls start to come together. There’s no
costly mis-cuts on the job site because Timberhaven’s logs are pre-cut to exact length, including cut-outs for windows and doors. Talk about simplified log home construction!
Log home construction: Corner Assembly Technique
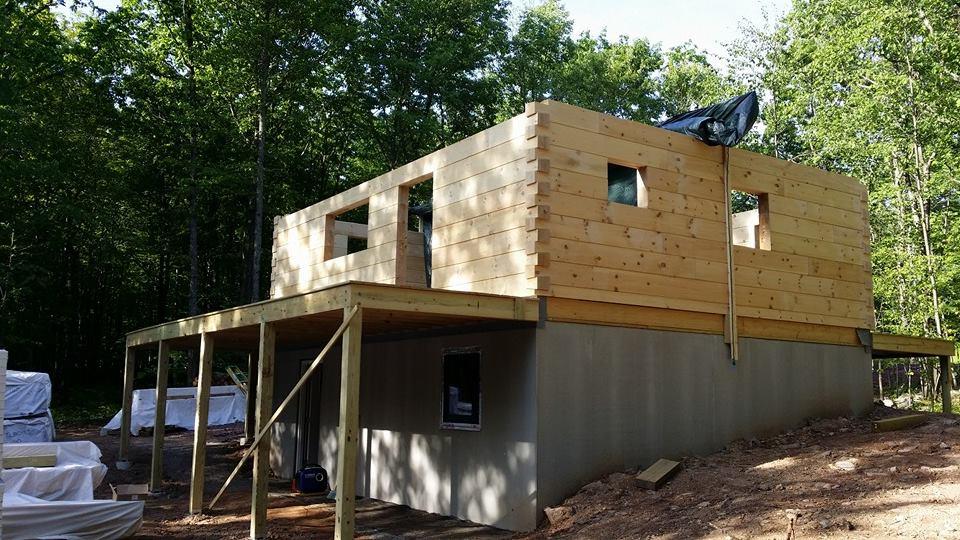
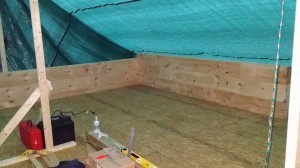
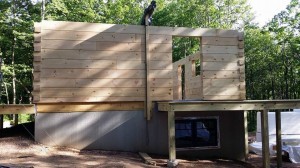
This couple’s home has a unique dovetail corner assembly. What’s different about this design is that the corners interlock versus sitting on top of one another like our mortise and tenon corner assembly. To create a uniform assembly the entire way up the wall, a half log is used in every other log wall in the first course of logs. In other words, for row #1, Jack and Bob will lay a half log first, a full log secondly, another half log thirdly, then a fourth full log as they complete the first course of logs. Below you can see the differences in log heights in row #3 and #4. By utilizing a tarp to cover the area during log home consturction, you can tell that Jack and Bob have gone to great lengths to protect their logs from inclement weather conditions.
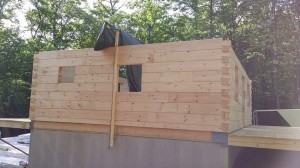
When Jack and Bob get to the top of the log wall, they will utilize two half logs and two full logs to bring the home to square and even out the log height differences. Check out that seamless dovetail corner assembly.
Log home construction: What’s next?
This couple is wholeheartedly enthusiastic about their new dream log home; hence they made significant progress as their log walls went up in less than two weeks. We cannot wait to show you what they’re up to next week: Main beams, 2nd level floor joists and 1st floor interior walls. In the meantime, learn more about Jack and Bob’s log home construction project in the latest issue of Log Home Living. Check out DIYers looking for a manageable project on page 44 of the September 2014 issue.
