Log Home Construction – Part 5 – Custom Built Log Homes
Log home construction is in full swing. This lovely Pennsylvania log home is coming along nicely. The next phases of construction – Interior wall framing/support posts and roof construction – have been completed. Let’s show you what Jack and Bob have been up to.
Log Home Construction: Interior Wall Framing & Second Floor Construction
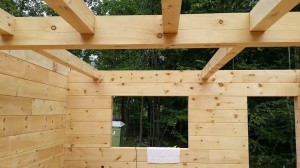
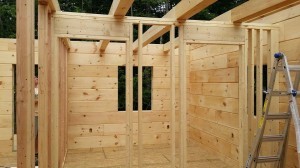
After the logs are stacked to square, the couple starts working on the first floor interior wall framing and support system. Interior walls are conventionally framed and 6” x 8” loft joists are notched into the 8” x 12” loft beam and log walls. Because Timberhaven is a firm believer in kiln-dried products, our log & timber components will not require any adjustments after construction is complete. Thus there’s no settling system or brackets needed in the areas where these members meet. The beams and loft joist system constructed here will support the second floor.
Log Home Construction: Roof Construction
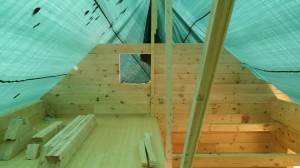
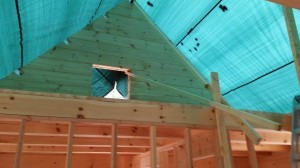
Next the couple is stacking the pre-cut logs to form the solid log gables. Jack and Bob pay close attention to centering each log course, ensuring that the peak of the gable will be at the centerline of the wall. They also are sure to heavily brace the gable ends to prevent instability and to withstand any potential wind-related problems. During this phase of log home construction, the entire home is covered by a tarp. This is an extra precautionary measure taken by the couple to provide ultimate protection from the weather elements. Not all builders go to great lengths to protect the untreated materials. However, doing so will make finishing the interior of the log home a cinch – a light sanding and coat of polyurethane or two and they will be d-o-n-e!
Timberhaven log home owners can choose from several different types of roofing systems:
o Beam & Purlin (A-Style, W-Style or King Post options)
o 2” x 12” rafter
o Pre-fabricated trusses (scissors, flat, or attic trusses)
o TJI (engineered) trusses
Jack and Bob selected the very popular beam & purlin roofing system. Let’s take a look at how they assembled this beautiful system.
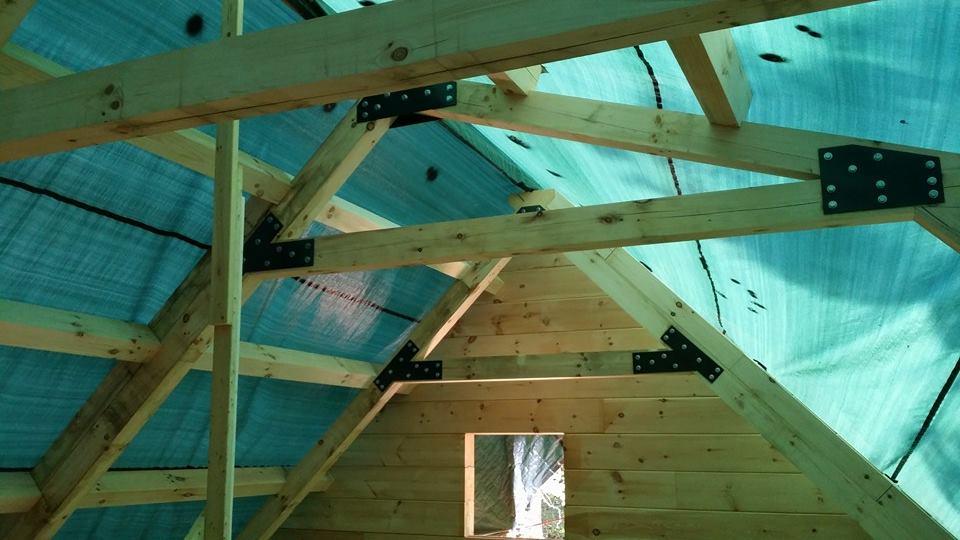
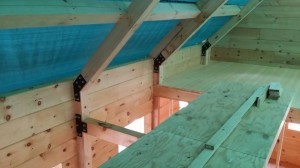
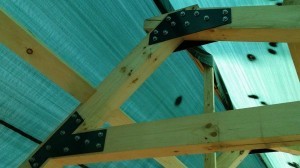
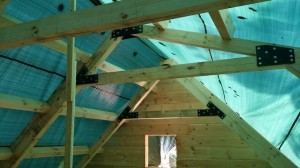
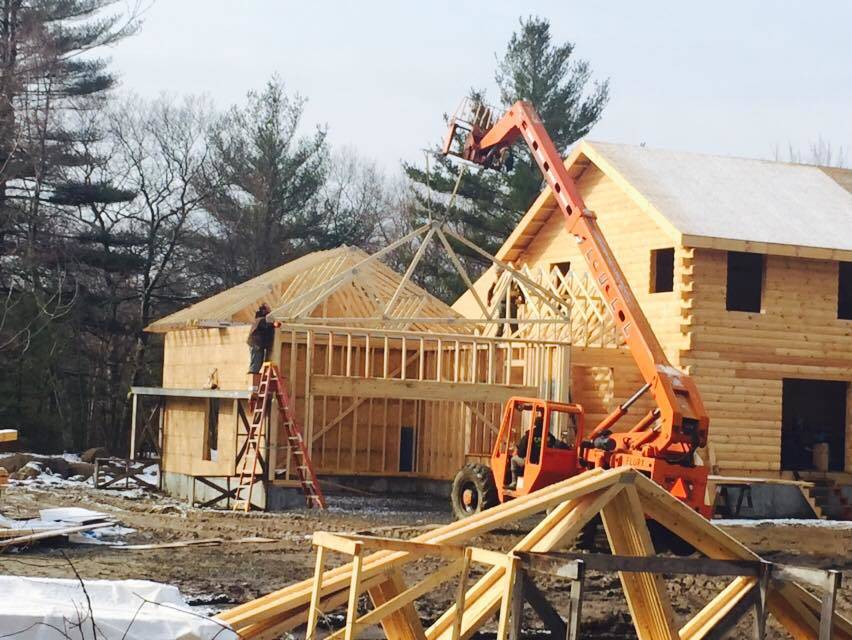
After the gables are constructed, Jack and Bob utilize the pre-cut roof plan to set the roofing members. The beams, purlins, and collar ties are notched into the log wall and secured with steel gusset plates. The plates are bolted to the members to ensure structural integrity.
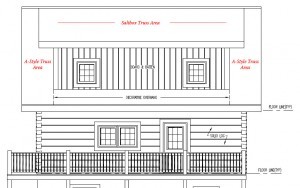
You will notice two different trusses in this roof system: An A-truss is used at the left and right of the home and saltbox trusses used in the center. The saltbox trusses are chosen to accommodate a shed dormer in the rear of the home. Below you can see how nicely these systems come together nicely.
Jack and Bob’s roof is constructed with a 12/12 roof pitch and a 4/12 roof pitch in the location of the shed dormer. Do you know how to determine the pitch of a roof? You take the number of inches it rises vertically for every 12 inches it extends horizontally (run). Just remember “rise over run.” So a 4/12 roofline will rise 4” in a 12” run.
Log Home Construction: What’s next?
Before we know it, Jack and Bob will be enjoying the best of log home living in their dream custom built home. But for now, they’ve still got their work cut out for them. Next week they will finish the walls of the shed dormer and set the posts and beams for the front porch. Log home construction is coming together nicely, and the place is starting to look like a home. Subscribe in the box to the right to follow along.
