Rhode Island Log Home Flooring Installation
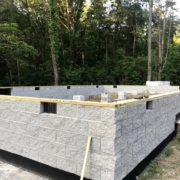
Now that this custom Rhode Island log home is weather-tight, the builder has begun working on the interior of the home.
The first project is installation of the second-level composite flooring.
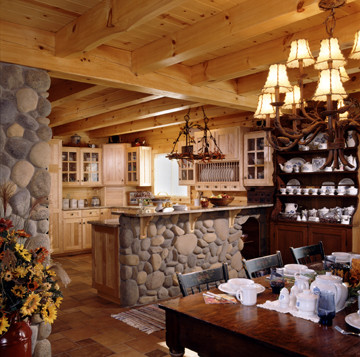
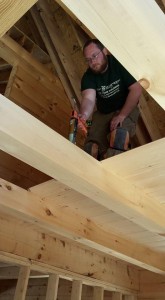
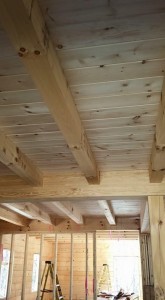
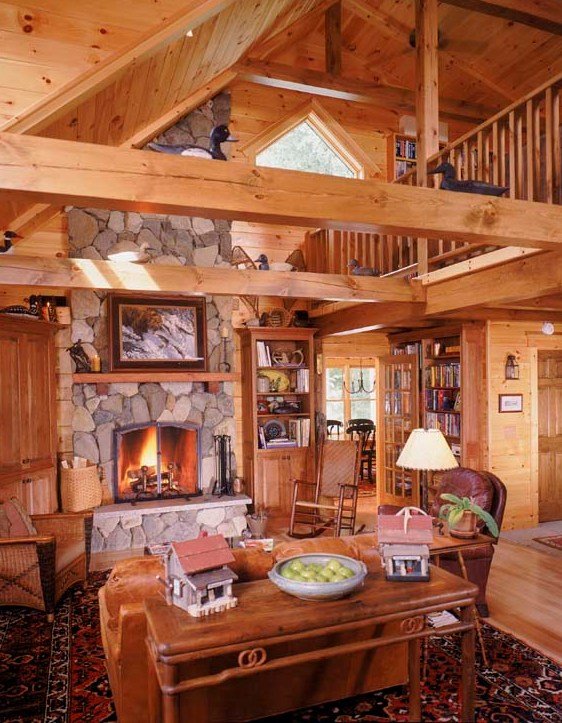
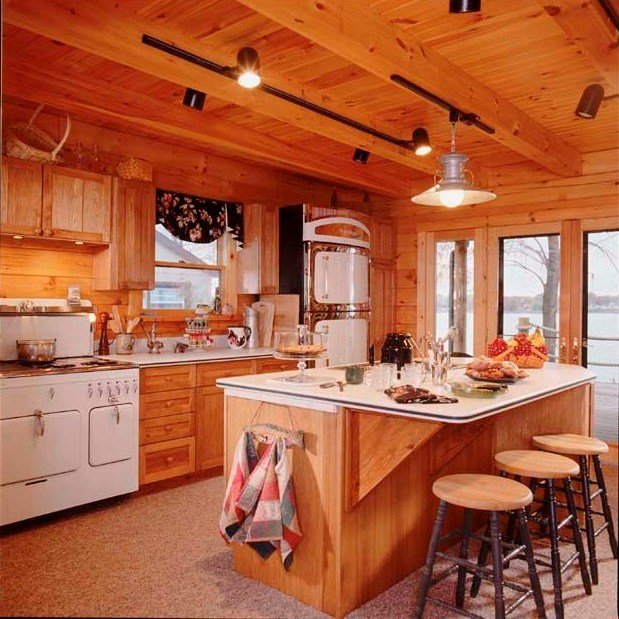
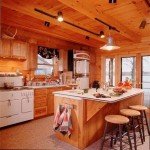
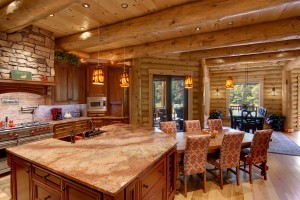
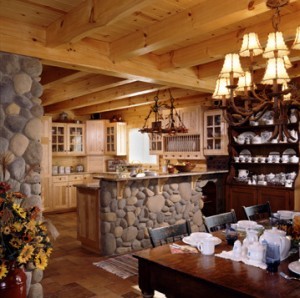
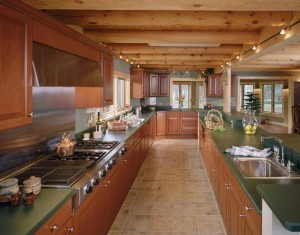
Because the majority of our homes are designed to incorporate exposed heavy timbers, it is important that the ceiling above those timbers complements the overall look and feel of the home. Timberhaven utilizes Tongue & Groove (T&G) as our standard ceiling material. What’s important about the T&G is that it also serves as the composite flooring for the second level. In its final state, illustrated here with various versions of heavy timbers and exposed beams, it looks like this. Stunning!
 |
 |
 |
Now, let’s see how this log home flooring is achieved.
Log Home Flooring: Composite Flooring
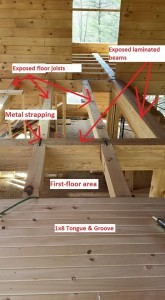
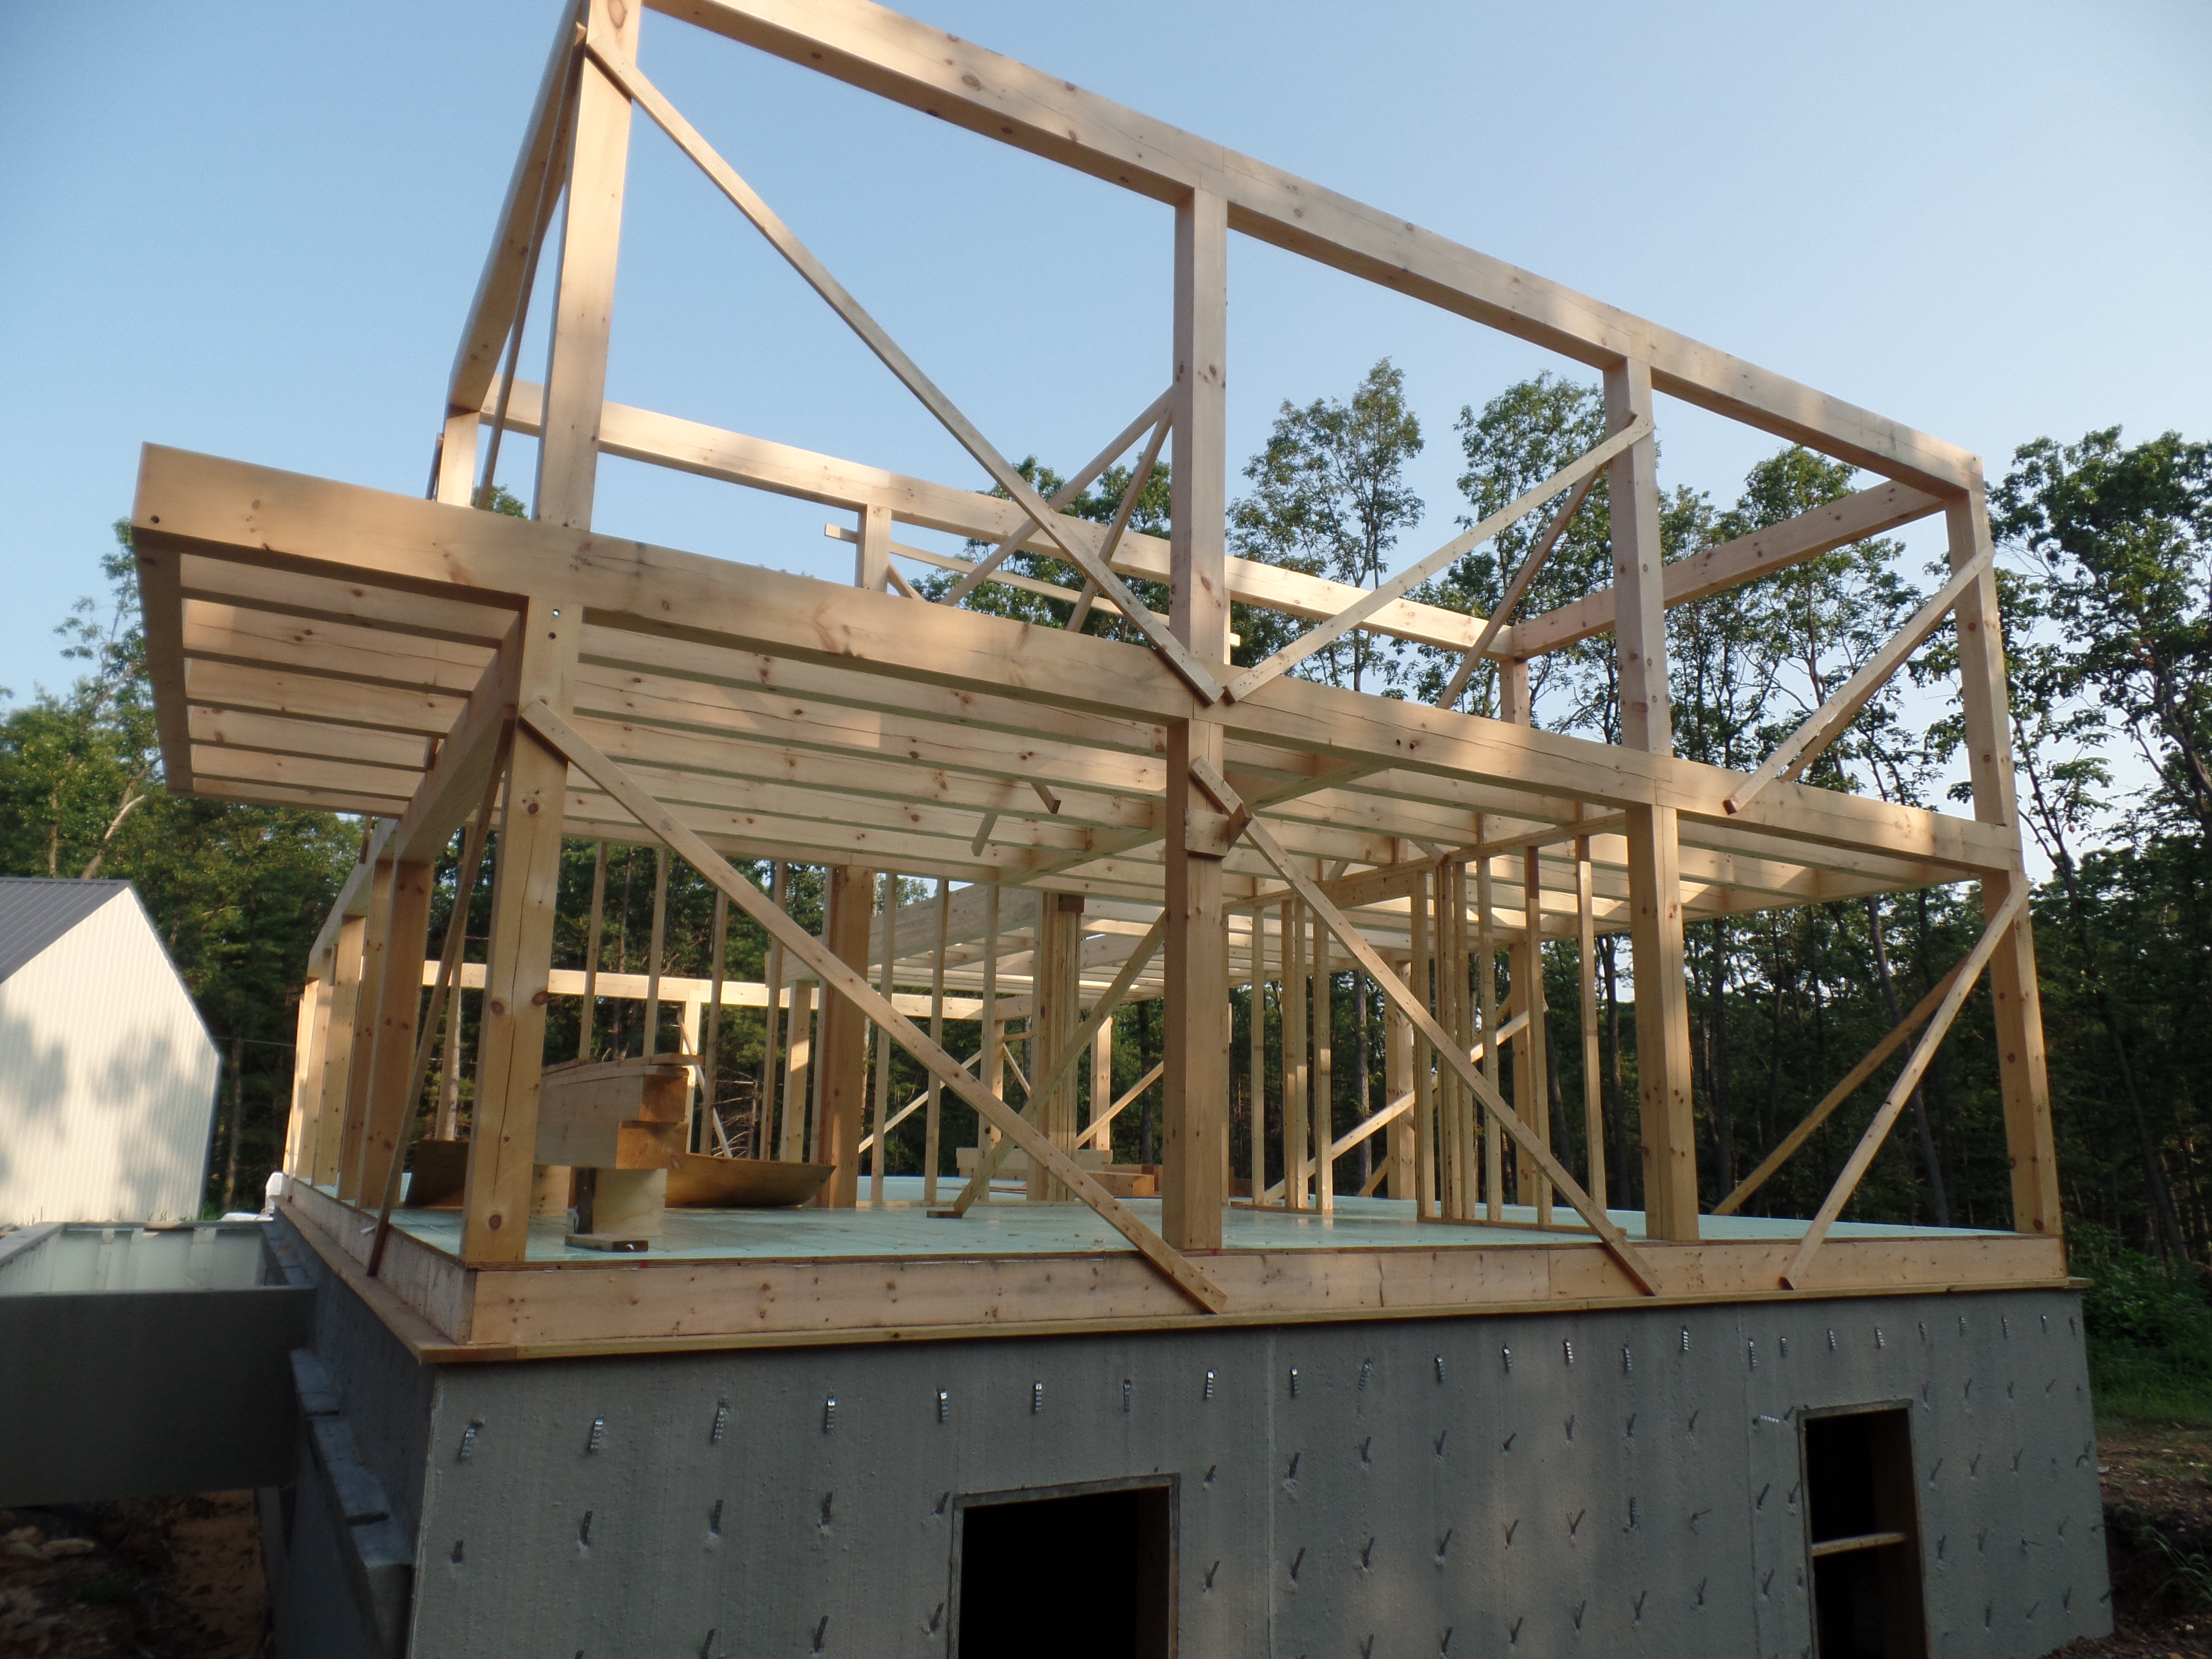
This photo depicts the area in which the composite flooring is being installed. As you can see, the laminated beams and floor joists are notched together and secured by metal strapping. These heavy timbers are also notched into the log walls which establishes complete structural integrity. The members also serve as the framework for the second level floor and will be exposed from the first floor area.
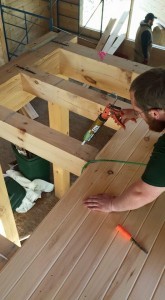
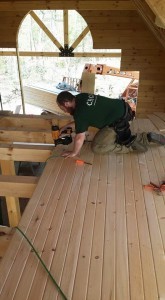
First 1×8 T&G is glued and nailed perpendicularly to the 6×8 heavy timber floor joists.
Remember, as the first layer of the composite flooring is installed on the second level, the main-level ceiling is also established.
Next the builder will install 4×8 sheets of sheathing on top of the T&G. The third and final layer of log home flooring on the second level consists of finished floor material. This can be whatever you want it to be – hardwood, laminated, tile, and carpet are some examples. Finished floor materials like this are not supplied in our package; however…
…If you’d like T&G as your finish floor material, Timberhaven would supply 2×6 T&G materials. The 2×6 T&G would be installed in the same manner as the 1×8 T&G; but because it is a heavier material, this solitary layer serves as your ceiling and your finished floor all in one. (No composite floor needed.)
Options. Options. Options. They’re what make your home as individualized as you. And we love it!
Next week Paul will outline his experiential wire installation process for devices on the first floor before he finalizes the composite flooring of this lovely home. Check back for more.
