New Model Home Hartsville, TN: Log Stacking – Part 4
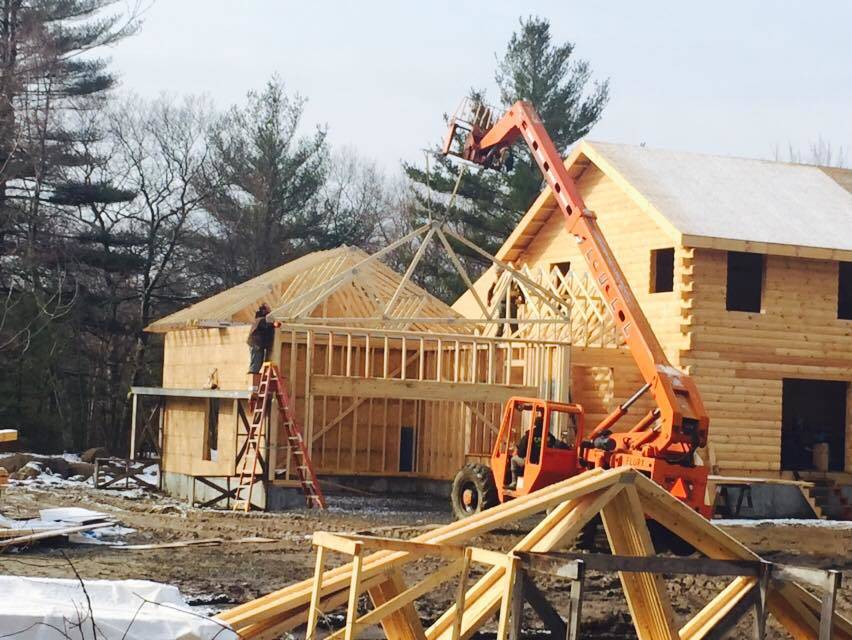
Mary and Philip Girton’s new model log home has been drawn to perfection. Their logs have been expertly kiln-dried, laminated, shaped in our popular 6×8 D profile, and pre-cut to exact length. Their complete materials package has been safely delivered to their job site. Now it’s time for log stacking. Wahoo!
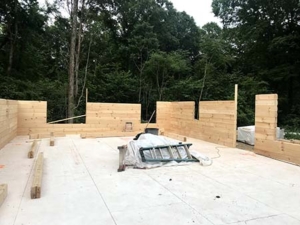
Through the entire log stacking process, the builder will follow the detailed construction drawings supplied by Timberhaven. First he will snap a chalk line around the perimeter of the subfloor. The inside surface of log row #1 will set on this snap line, so it is paramount that the lines are accurate.
Next, location of all switches and receptacles are marked on the subfloor. Other items that will require drilling of logs for electrical like outside lights, phone wires, cable, etc. are also marked on the subfloor at this time. A hole is drilled through the subfloor and the perimeter box at a 45-degree angle in the exact area that will receive the electrical wiring.
The builder will follow the pre-cut drawings to determine which log gets laid first, second, third and so on. Timberhaven made log home construction easy because each log is pre-marked with an alpha-numeric code that coincides with these drawings.
Other important builder friendly notes about Timberhaven’s kiln-dried premium-grade logs include:
- In addition to logs that are pre-cut to exact length, Timberhaven’s logs are pre-drilled and countersunk for lag and washer placement. This takes the guess work out of the equation as it’s clear exactly where the lags need to go.
- Pre-sorted logs provide great benefits when it comes to construction efficiencies. This on-the-job-site methodical approach means the logs are sequentially placed in packs, meaning, the logs needed first are on the top of the pack.
- The alpha-numeric codes on the pre-cut logs corresponded to the pre-cut plans provided by Timberhaven.
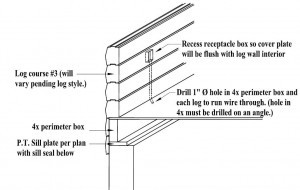
As the builder starts to organize and lay the pre-sorted logs, when he gets to an area on the subfloor that is marked “S” for switch or “R” for receptacle, using a 1” or 1 ¼” self-feed auger bit, he will drill the electrical hole so that it lines up with the hole below it in the subfloor. He will utilize this same drilling method for the remainder of the log rows in order to create a chase for electrical wiring. This process simplifies the running of electrical wires as holes will be lined up directly over holes in each log course. With 6×8 kiln-dried Engineered Logs, receptacles are placed at row #3 and switches at row #7.
Butylog Sealant Tape is supplied in every Timberhaven log home package. This is used on the weather-side of the tongue for each log. Once the logs are lagged together, the Butylog compresses to form a seal so there is no water or air filtration.
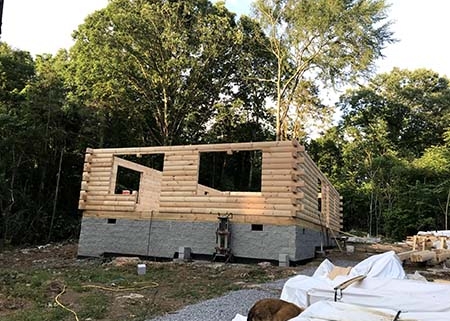
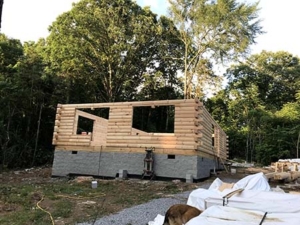
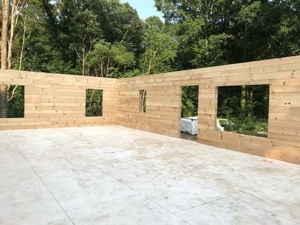
Because our logs are pre-cut, look at how the window and door areas are formed naturally as the log walls are being erected. Talk about simplified log home construction!
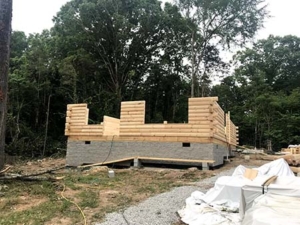
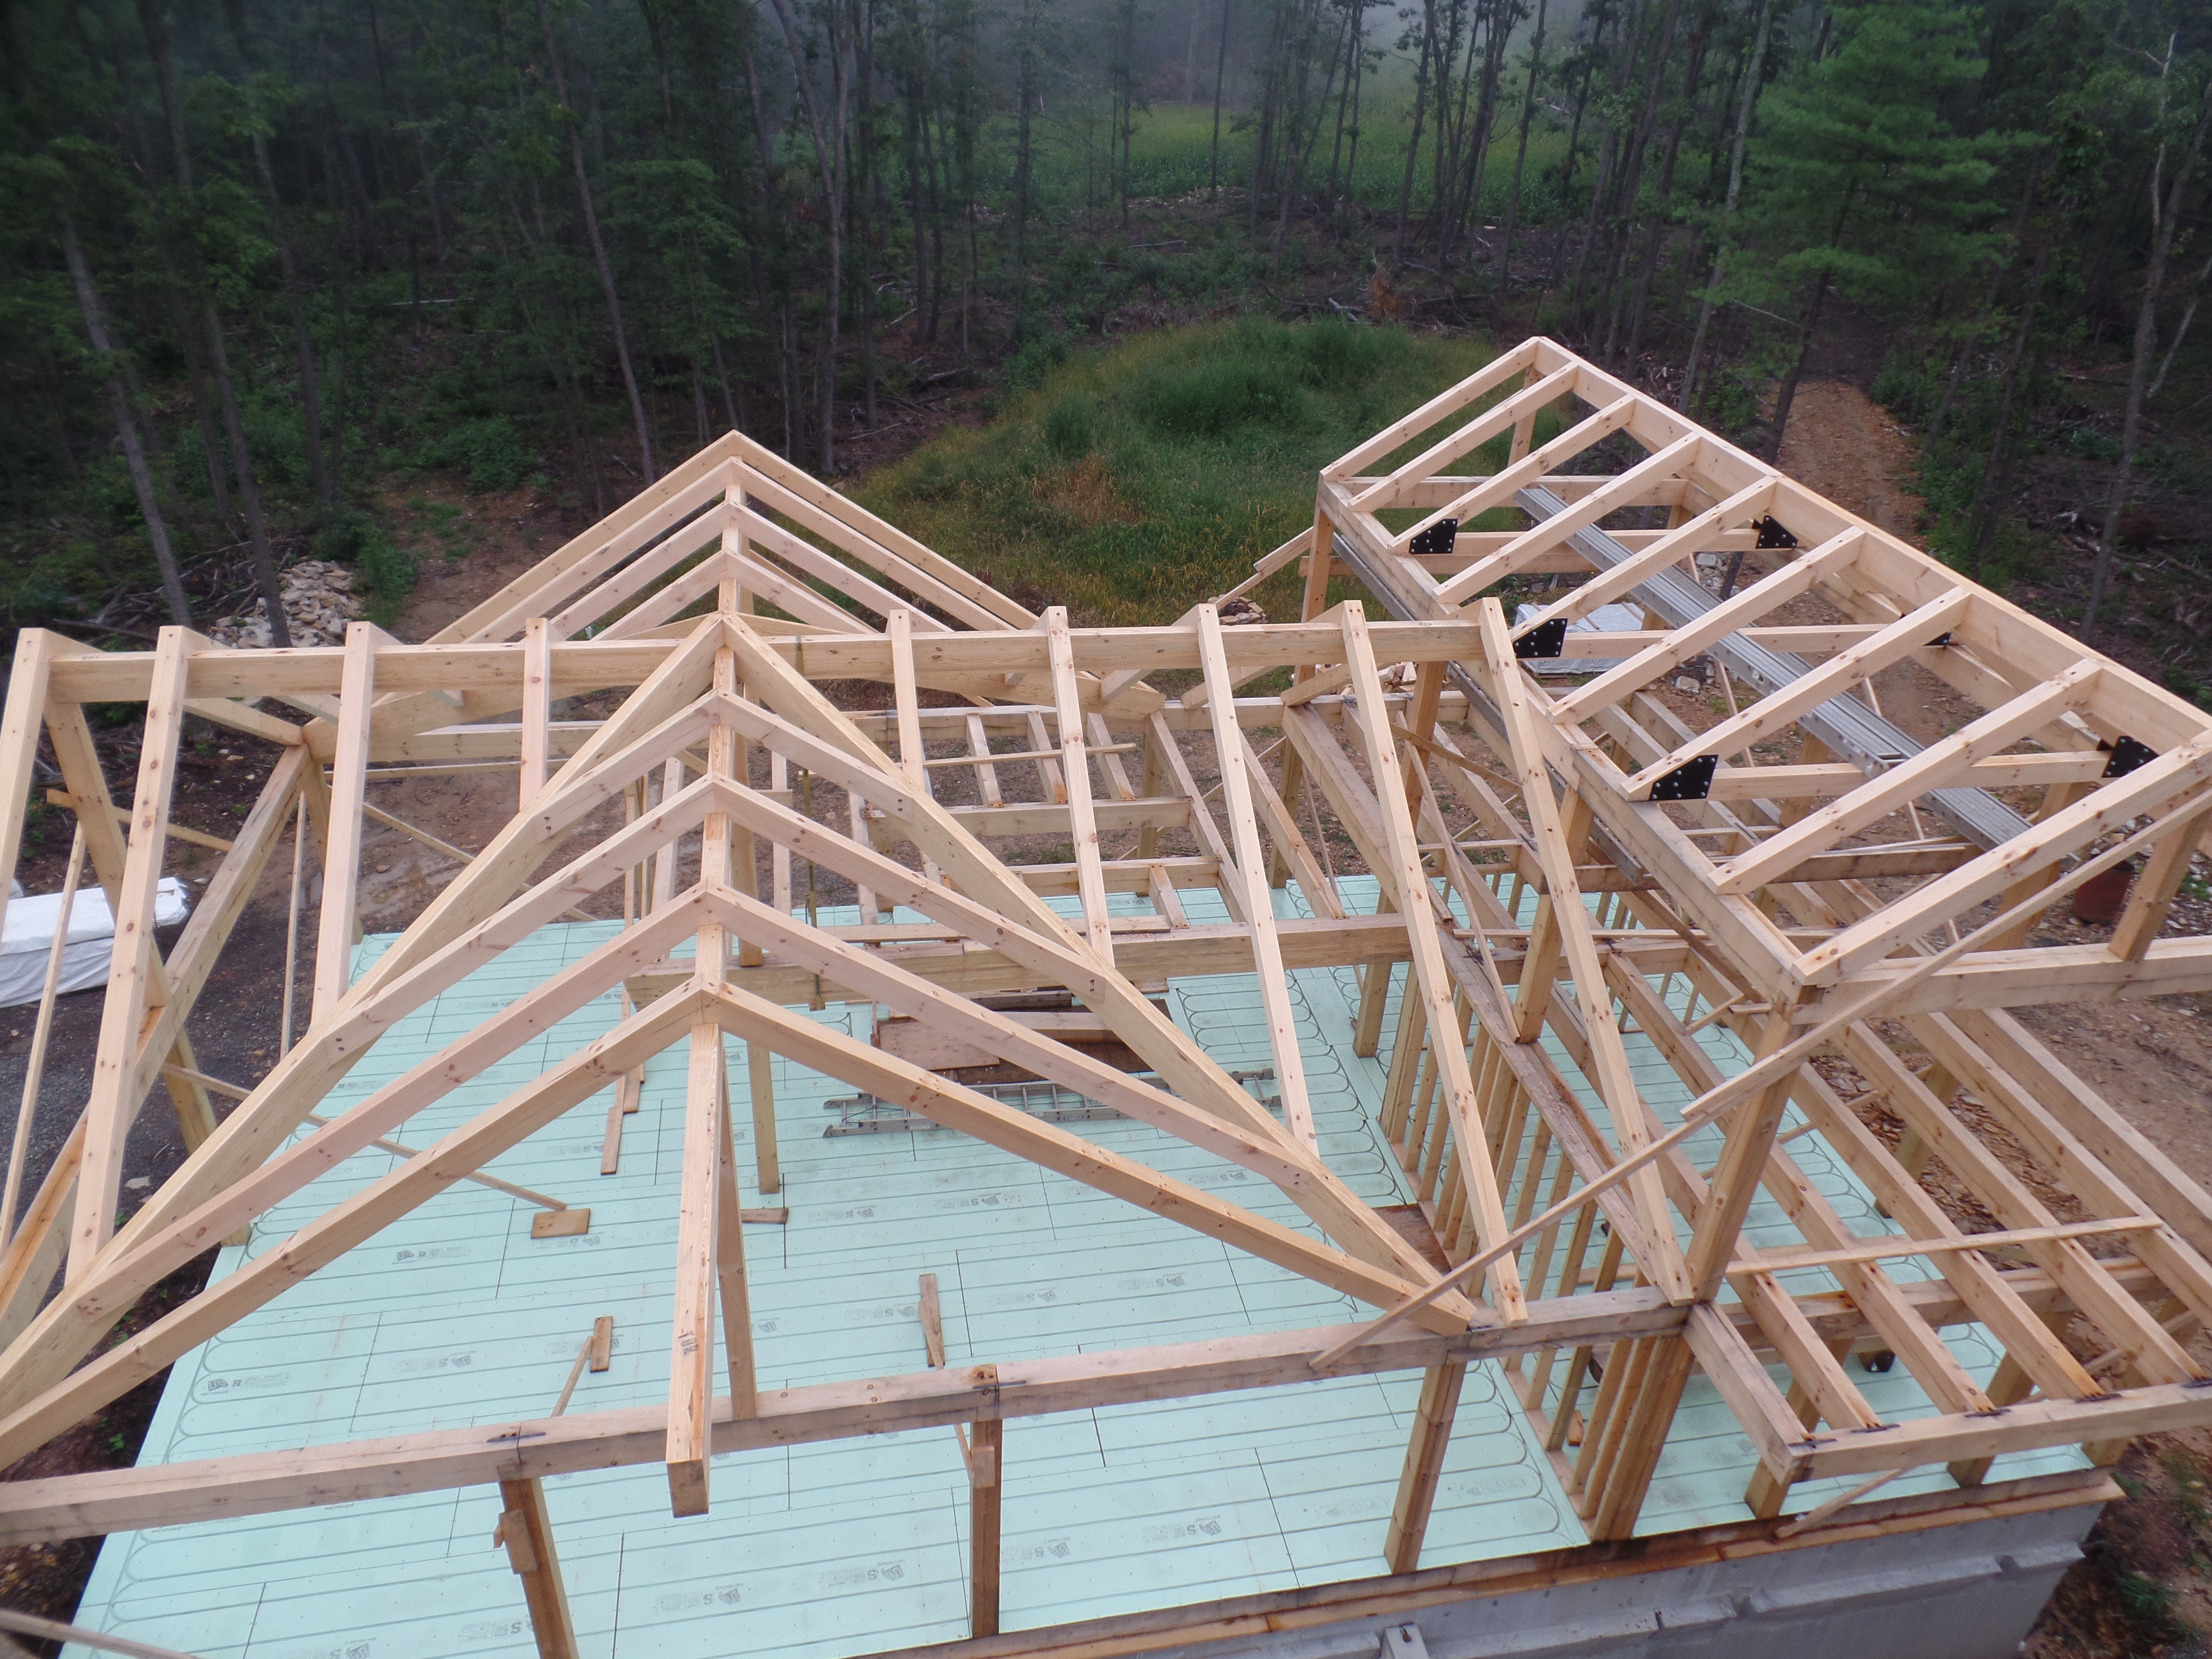
Throughout the log stacking process, the builder works his way around the home (and up) following his detailed construction plans. Once he gets the logs stacked up to square, he’ll install the porch headers, solid log gables, first floor interior wall framing and the roof system. Stay tuned.
In the meantime, visit this new model log home for yourself during the Girton’s GRAND OPENING this Sunday, February 23, 2020 from 1 – 3 PM. Call for directions or to schedule a personal tour. +1 (615) 374-7122
