Solid Log Breezeway – Under Construction
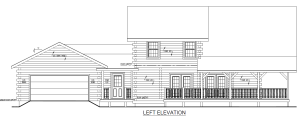
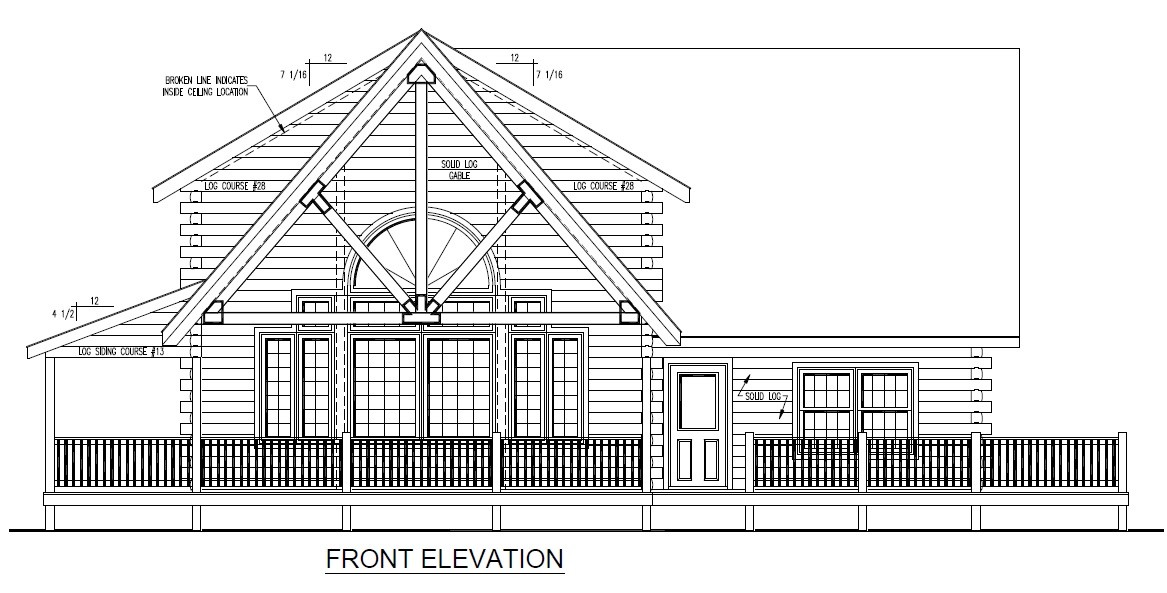
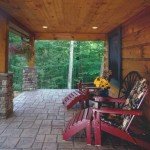
This week, Paul Flury and his team constructed the solid log breezeway that provides the passageway between the main home and the garage. In addition to its functionality, architecturally speaking, the breezeway provides a resolution to joining separate structures with different and complicated roof lines. Furthermore, a small porch extending just beyond the breezeway creates a welcoming focal point for guests. It will look like this….
Now let’s see how this element is constructed.
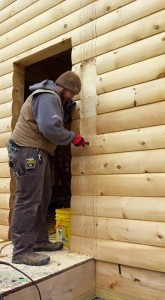
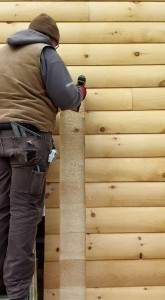
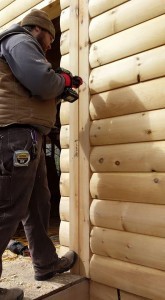
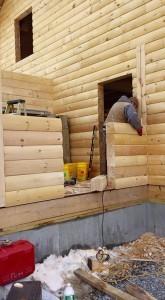
Because the outside surface of the “D” shaped log is curved, the builder needs to create a flat surface to receive and secure incoming logs. To do this saw cuts are made into the log wall and then this material is chiseled out in order to receive the vertical post. The post is notched – the splines will be inserted in this area – it is set, fastened and ready to receive the logs.
Paul is too busy taking photos of this process so he’s making his son do all the work today…we’re fairly certain Paul gave strict orders to repeat the aforementioned process on the opposite side of the door opening.
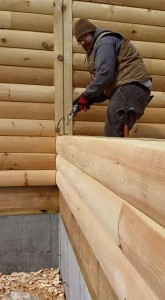
Paul Jr. complies. He also sets logs on the far end of the breezeway. Now the boys are ready to stack more logs.
Solid Log Breezeway – Assembling the Walls
Each log is marked with an alpha-numeric code which coincides with detailed construction drawings. The builders follow these drawings in order to determine the exact placement for each and every log throughout the entire home.
The logs that set against this post need to be secured with metal fasteners and splines. Timberhaven notches the logs for the placement of the splines, thus ensuring proper alignment and saving an additional step for the builder on the jobsite. The log is set into place, the void created by the spline cut is filled with caulk and the hardwood spline is secured into place.
The spline is a small strip of wood that appears to be a rather simple component when you look at it – but it actually serves a mighty purpose. Given the joinery between the post and log, the spline stabilizes the log and helps creates a weather-tight connection. Preventing air and water infiltration is paramount in all areas of your dream home, but special attention is needed where two separate areas of the home connect. Like with a breezeway. 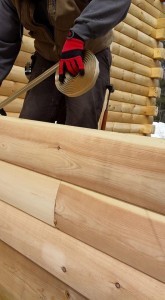
Another step taken to prevent air and water infiltration is the utilization of Butylog sealant tape. Butylog is a permanently pliable, tacky sealant which is specifically designed for log homes. Timberhaven recommends it to seal all connections between all tongue and groove joints. You can see it being applied here. The strength of the Butylog is unbelievable. If you have doubts, try prying apart two logs that have been bonded by the agent. It’s nearly impossible. In addition to its strength, it is also designed to expand and contract with your log home in order to maintain a constant seal.
The boys keep on working and Paul keeps on taking photos. At least some people (we) are thankful, Paul.
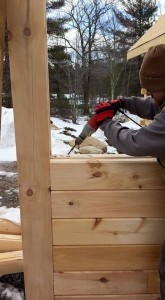
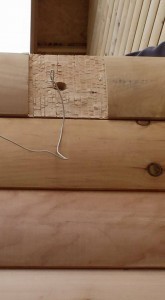
As you can see, 6 rows of logs have already been stacked. They are preparing each log course to receive electrical. It looks like they’re planning for an outdoor sconce in this area. As you can see, a small section of the exterior log has been chiseled away. Again, think about the curved “D” log profile….the sconce needs a flat surface to which it can be fastened. Now…it has one.
Solid Log Breezeway – The Roof
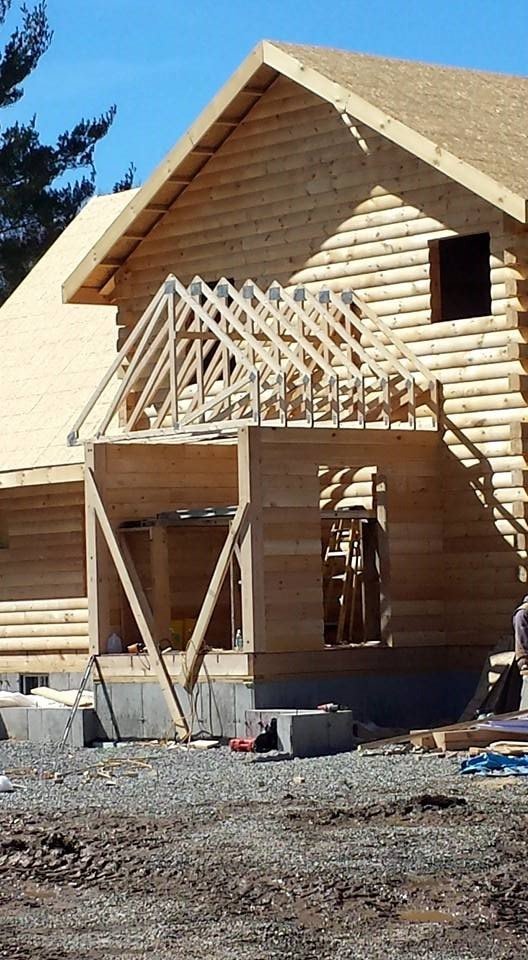
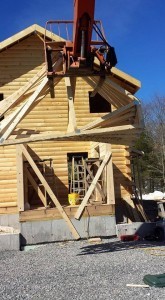
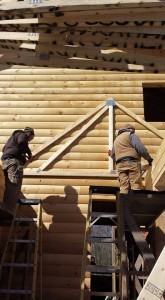
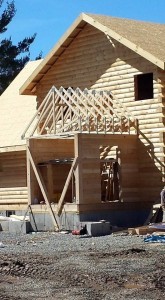
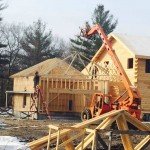
Once the 14 rows of logs are stacked, the breezeway begins to take shape. Pre-fab trusses are installed next. Deciding to work smarter instead of harder, the team utilizes a forklift to hoist the trusses into place. The guys will remove one truss at a time from the lift and secure it to its exact location. The first truss is secured directly to the log wall of the main home. The consecutive trusses are secured every 16” on-center. When completed, the roof structure looks like this.
Breezeway. We’re adding it to the list of cool characteristics of this Rhode Island log home. We love it!


Nice job Paul and crew.